A new door can make a room feel finished or give an entryway the presence it has been missing. But a premium door cannot hide an opening that is out of square, a weak jamb, or hardware fitted without care. This door installation checklist homeowners can use helps turn a door upgrade into a durable, precise result rather than an expensive adjustment project.
Start With the Purpose of the Door
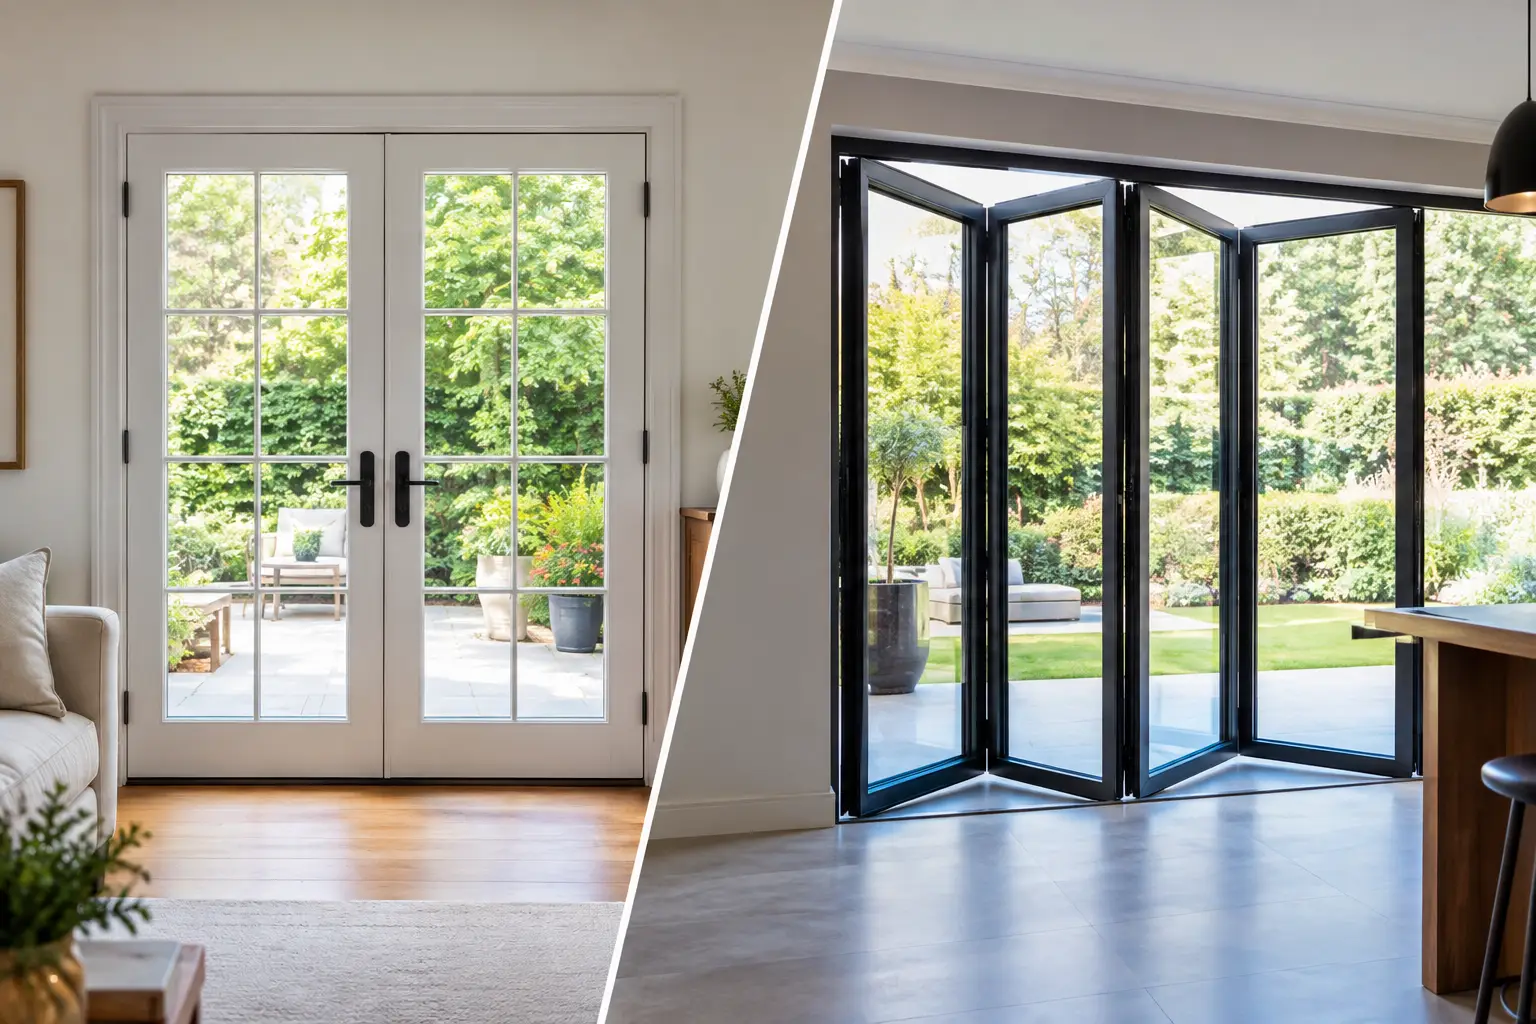
Before measuring or selecting a style, decide what the door needs to do. An internal bedroom door may prioritize privacy and a quiet close. A front entrance door needs to balance visual impact, security, weather protection, and everyday durability. A barn door can save swing space, while a French door may bring light and connection between two rooms.
That purpose affects more than the design. It influences the construction, core type, hardware, glazing, frame, seals, and installation method. For example, a hollow-core internal door can suit a low-traffic closet, but it is not the best choice where sound reduction or a more substantial feel matters. A solid-core door is heavier and costs more, yet often delivers better acoustic performance and longevity.
Also consider how the door will work with surrounding finishes. Architraves, skirting, flooring transitions, wall color, and nearby cabinetry all affect whether the finished opening looks considered or pieced together.
Door Installation Checklist Homeowners Should Complete Before Ordering
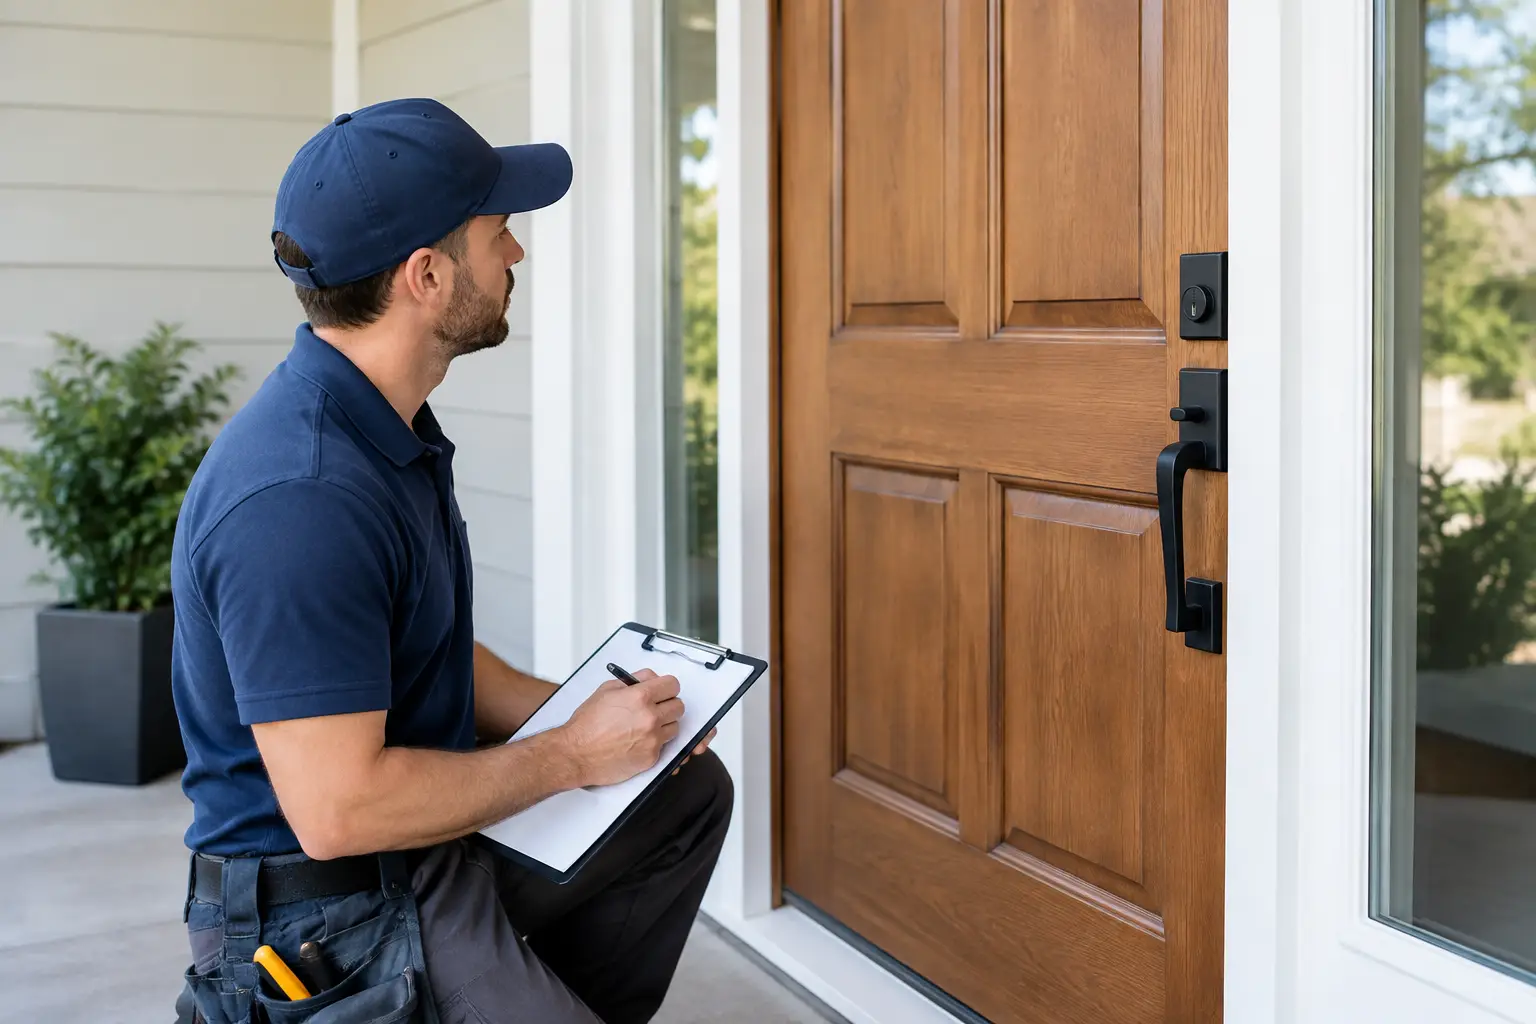
Measurements should be taken before a door is ordered, not on installation day. Replacing a door slab can be straightforward when the existing jamb is sound and correctly sized. Replacing the jamb or fitting a prehung door is more involved, but it can be the better long-term solution when the frame is damaged, twisted, or poorly aligned.
Use this checklist before approving a quote or product selection:
- Measure the opening width in at least three places: top, middle, and bottom.
- Measure the height on both sides and through the center, especially where floors are uneven.
- Check the jamb depth and wall thickness, including plasterboard, tile, or other finished wall surfaces.
- Confirm the swing direction and handing from the side where the door will open toward you.
- Identify floor levels, rugs, thresholds, and any clearance needed for ventilation or accessibility.
- Inspect the opening for moisture damage, movement, cracked framing, or loose trim.
Do not assume an existing door tells you the correct size. Older homes can have openings that vary from one side to the other. Renovations may also add flooring height, which reduces the clearance at the bottom of the door. A careful site measure gives the installer the information needed to allow for the right jamb, packing, seals, and finished margins.
Confirm What Is Included
A door quote should make clear whether it covers the door leaf only or a complete supply-and-fit package. A complete installation may include the door, jamb, hinges, lockset preparation, hardware fitting, architraves, weather seals, removal of the old unit, and finishing work. Each project is different, so the details matter.
For exterior doors, ask about the threshold, sill pan or flashing where applicable, weatherstripping, door sweep, and sealant. These components are just as important as the door itself. Water entering around an entry frame can damage flooring, trim, and surrounding framing over time.
Select a Door That Suits the Opening
A beautiful door should also be practical for the available space. A hinged door requires a clear swing path. A bi-fold system needs properly aligned tracks and adequate room for the folded panels. Sliding and barn doors need wall space beside the opening, plus sound structure to carry the hardware and door weight.
Weight is a key consideration. Solid timber, solid-core, and glazed doors can be substantial. They need hinges, screws, and a jamb designed to support them without sagging. Three hinges may be sufficient for a lighter internal door, while heavier doors may need additional hinges or specialty hardware. The correct choice depends on the door size, weight, and intended use.
For entry doors, assess exposure before choosing materials and finishes. A door facing harsh sun, wind-driven rain, or repeated moisture needs a finish and sealing approach suited to those conditions. Timber offers warmth and character, but it needs appropriate protection and periodic maintenance. Other materials can reduce upkeep, though they may offer a different look and feel.
Prepare the Opening Before Installation
A door can only perform as well as the opening around it. Before fitting begins, the rough opening or existing frame should be checked for plumb, level, and square. If the sides lean, the head is uneven, or the structure has shifted, simply forcing a new door into place will create uneven gaps and unreliable latching.
For a prehung door, the installer will normally position the jamb with shims at key points, particularly behind the hinges and strike plate. The frame must be fixed securely without bowing it inward or outward. Once the door is hung, it should swing naturally, hold its position where appropriate, and latch without being lifted, pushed, or slammed.
This is where craftsmanship shows. Small adjustments to packing, hinge placement, and strike alignment determine whether a door feels solid every time it is used. Rushing this stage can lead to rubbing, rattling, daylight around exterior seals, or a latch that stops working properly as the home settles.
Protect Finished Surfaces
Installation involves tools, dust, packaging, and occasional trimming. Clear furniture away from the work area and protect nearby flooring. If painting, staining, or sealing is still to be completed, confirm the sequence with the installer. In many cases, it is best to fit and test the door before final finishing, although factory-finished products may need a different approach.
For renovations, allow for adjoining work as well. New skirting and architraves may need to be fitted or patched after the frame is installed. If flooring is changing, coordinate the final floor height before setting the door clearance.
Check the Door on Installation Day
Do not judge the finished result only from across the room. Open and close the door several times. Look at it from both sides, with natural and artificial light if possible. A well-installed door should look deliberate from every angle.
Check that the reveals are even and that the door does not scrape the floor, jamb, or threshold. The latch should engage cleanly, and the lock or privacy hardware should operate without resistance. Hinges should sit flush, screws should be secure, and hardware should feel firm in the hand.
For exterior doors, inspect the weather seals closely. When closed, the door should compress the seals enough to limit drafts and rain entry without requiring excessive force. Check the bottom sweep or threshold line as well. If light is visible where it should not be, or if there is a noticeable rattle in the wind, ask for an adjustment before the job is signed off.
Avoid the Shortcuts That Cause Callbacks
The most common door problems usually begin with a shortcut: measuring only once, reusing a damaged jamb, selecting hardware too light for the door, or ignoring an uneven floor. Another frequent issue is installing a new door before moisture problems around an exterior opening have been resolved. The new product may look excellent initially, but ongoing water exposure can quickly affect the frame and finish.
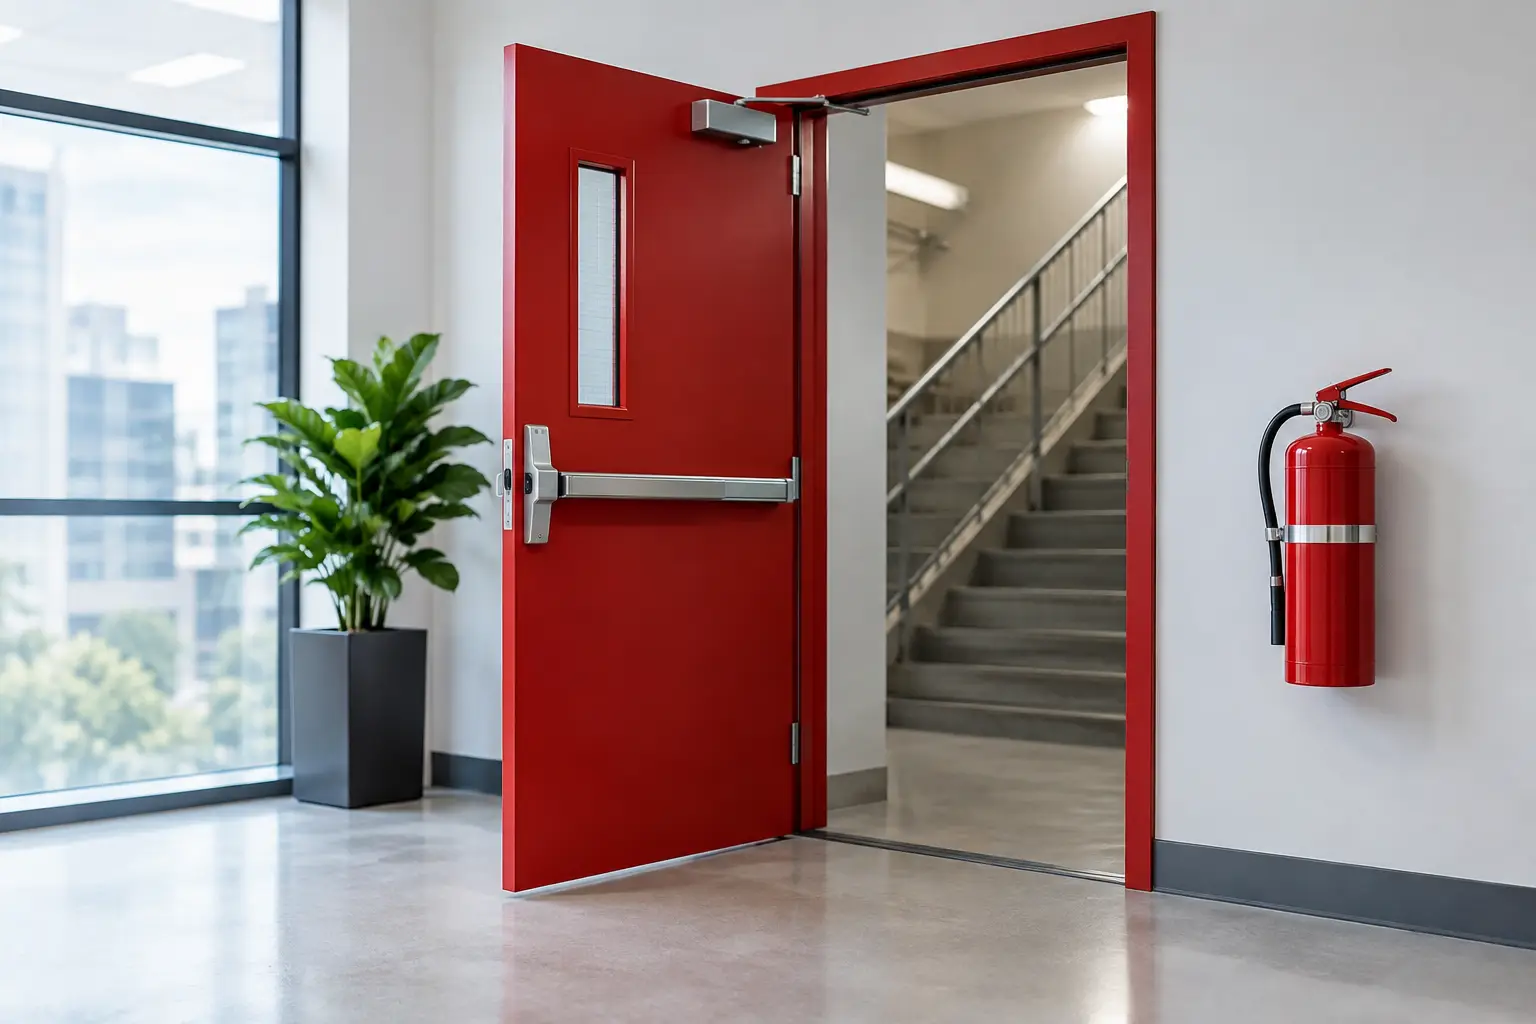
DIY installation can be appropriate for an experienced homeowner replacing a simple internal slab in a sound frame. It becomes less forgiving when the door is heavy, glazed, custom-sized, external, fire-rated, or part of a wider renovation. In those situations, professional installation protects the product, the surrounding structure, and the finish you have invested in.
Plan for Care After Fitting
A door is not a fit-and-forget feature. Check exterior seals and painted or stained finishes periodically, particularly after severe weather. Tighten loose hardware before it causes wear, and keep tracks clean on sliding, barn, or bi-fold systems. Timber doors may need refinishing at intervals based on sun exposure and product recommendations.
Inside the home, seasonal movement can slightly change how a door operates. A minor adjustment to hinges or a strike plate can often restore a clean close before a small issue becomes damage to the jamb or edge of the door.
The best door projects combine thoughtful selection with exact installation. Whether you are updating a single room or completing a full renovation, working with a specialist such as Meriton Doors gives you the advantage of product knowledge, precise fitting, and an end result that feels right every time you reach for the handle.