A new door can change the feel of a home in a matter of hours. A refined entry door strengthens curb appeal and security, while well-fitted internal doors bring privacy, quieter rooms, and a more finished look to a renovation. Knowing how to prepare for door installation day helps protect that investment and gives your installer the clear, safe access needed to achieve a precise result.
Most preparation is straightforward. The aim is to make room for careful measuring, removal, fitting, adjustment, and clean-up without rushing the work or risking damage to your furnishings and finishes. A little planning also makes it easier to identify decisions that may be needed on the day, particularly when an older opening is not perfectly square or a new door is being fitted as part of a larger renovation.
Confirm the Scope Before Door Installation Day
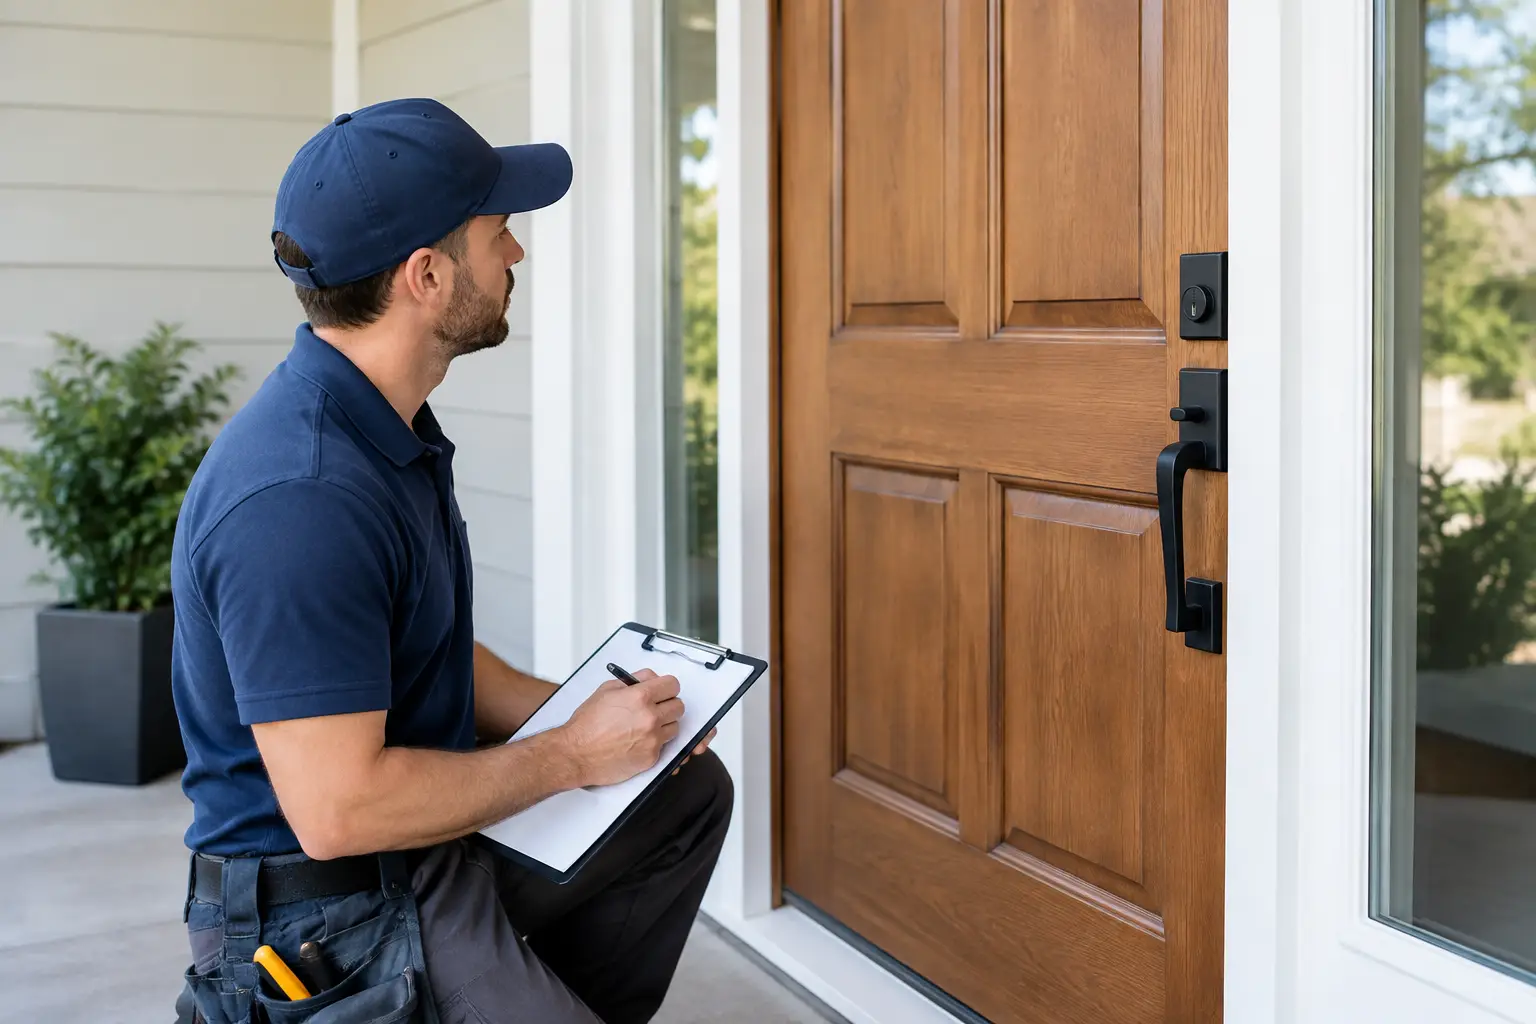
A few days before the appointment, review the agreed work with your installer. Confirm which doors are being installed, whether frames, jambs, architraves, hardware, side panels, or skirting are included, and which areas of the home will be accessed. This is especially worthwhile when several doors are being replaced or when the project includes a statement entry door with sidelights.
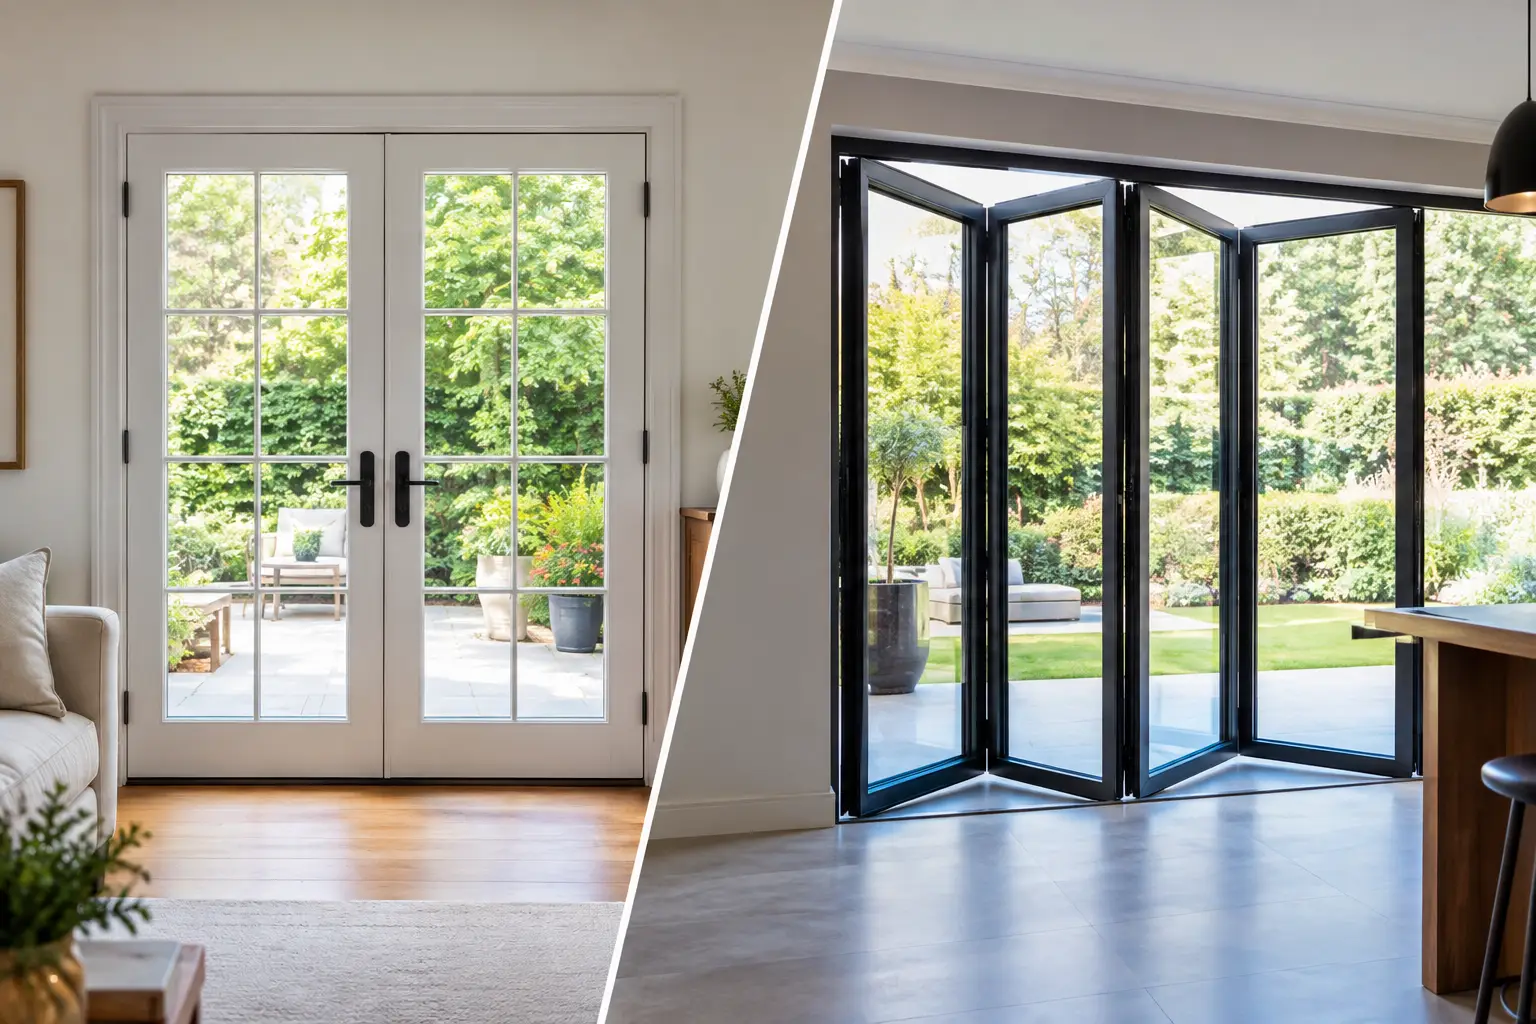
Make sure everyone is working from the same details for door swing, handing, hardware finish, glazing, and paint or stain requirements. Door handing can be easy to misunderstand: a door that opens into a room versus out toward a hallway affects furniture placement, light switches, traffic flow, and privacy. If you have any uncertainty, raise it before installation begins rather than after the door is hung.
For homes undergoing renovation, clarify what needs to be completed first. Fresh flooring, final painting, tiled thresholds, waterproofing, electrical work, and plaster repairs can all influence timing. Internal doors are often best installed after major dusty work is complete, but exact sequencing depends on the product and the condition of the opening.
Clear a Generous Work Area
Door installation requires more space than the doorway itself. Installers need room to carry the door safely, set up tools, remove the existing unit, and check alignment from several angles. Clear furniture, decorative items, rugs, and fragile belongings from both sides of each opening.
For an internal door, aim to leave a clear path from the exterior access point to the room and an open area around the doorway. For an entry door, move pot plants, outdoor furniture, parcels, and vehicles away from the front approach. If your property has a narrow driveway, stairs, a gated entry, or limited street parking, let the installation team know in advance.
Do not forget items mounted near the opening. Remove coat hooks, wall art, mirrors, or shelves that could be bumped while the old door or frame is being maneuvered. For front doors, consider whether a screen door, security door, doorbell camera, alarm contact, smart lock, or exterior light needs to be temporarily disconnected or worked around. Your installer can advise on what is included, but early notice prevents avoidable delays.
Protect Floors, Walls, and Nearby Finishes
Professional installers work carefully, but replacing a door involves moving large, heavy materials and using tools close to finished surfaces. Protecting the immediate area is a sensible precaution, especially around timber floors, new tile, stone thresholds, and freshly painted walls.
Roll up loose rugs and runners rather than covering them. If you plan to use drop cloths or floor protection, choose materials that will not create a slipping hazard and keep the route clear. Avoid taping anything directly onto delicate paintwork, polished flooring, or newly finished surfaces unless the product is suitable for that purpose.
Some dust, old paint fragments, timber shavings, or minor debris may be unavoidable when an existing frame, trim, or threshold is removed. This varies considerably by project. A straightforward door slab replacement is usually less disruptive than a full prehung door and jamb installation, while masonry, uneven openings, or older homes can require additional adjustment. Remove or cover sensitive electronics and keep bedrooms or workspaces nearby closed where practical.
Plan for Pets, Children, and Daily Access
Installation areas can be busy and noisy, with doors temporarily removed and exterior openings exposed. Arrange for pets to stay in a separate room, secure yard, or off-site location for the appointment. This protects them from stress and prevents an unexpected escape when workers are carrying materials through an open doorway.
Young children should also be kept clear of the work zone. Tools, sharp hardware, and heavy doors require focused handling, and even a brief interruption can create a safety concern. If installation affects a main entrance, plan how household members will enter and leave the property while the work is underway.
For occupied rental properties, offices, or light commercial spaces, give tenants and staff clear notice of the work period. Identify an alternative entrance if one is available, and consider quieter periods if the door serves a customer-facing area. Property managers should also ensure an authorized person is available to provide access and approve any necessary on-site decisions.
Make Access and Utilities Easy
A punctual start depends on uncomplicated access. Unlock gates, remove vehicles from the driveway or garage if needed, and make sure the installer has the correct address, entry instructions, and contact number. If parking requires a permit or has time restrictions, communicate that before the appointment.
Installers may need access to a power outlet, particularly for trimming, drilling, or fitting hardware. Identify a nearby working outlet and avoid overloading it with household appliances. If outdoor work is planned, ensure exterior access is clear and safe. Rain, high winds, or extreme heat can affect certain exterior installations, so stay in contact if the forecast is poor.
It is also helpful to identify any building-specific requirements in advance. Apartments, strata communities, and managed developments may have rules for elevator use, loading zones, work hours, debris removal, or protective coverings in common areas. These details are often easy to arrange, but they should not be left until the installation crew arrives.
Leave Key Decisions With the Right Person
Someone who can answer questions should be present or available by phone throughout the installation. This does not mean you need to supervise every step. It simply allows for quick confirmation if an existing opening reveals an issue that was not visible during quoting, such as concealed damage, an uneven jamb, unusual wall thickness, or a threshold that needs repair.
Older homes commonly have walls and floors that have shifted over time. A skilled installation accounts for these variations to achieve correct operation, consistent gaps, and a polished appearance. Occasionally, achieving the best fit may require minor trimming, packing, sealing, or additional finishing work. The right solution depends on the door type, frame condition, and surrounding materials.
If you have selected unfinished timber doors, clarify whether painting or staining is part of the installation scope. Timber should be sealed and finished appropriately, including edges where required, to support long-term durability. Factory-finished doors have different care needs, so ask how soon they can be cleaned and what products are suitable.
Complete a Quick Pre-Installation Check
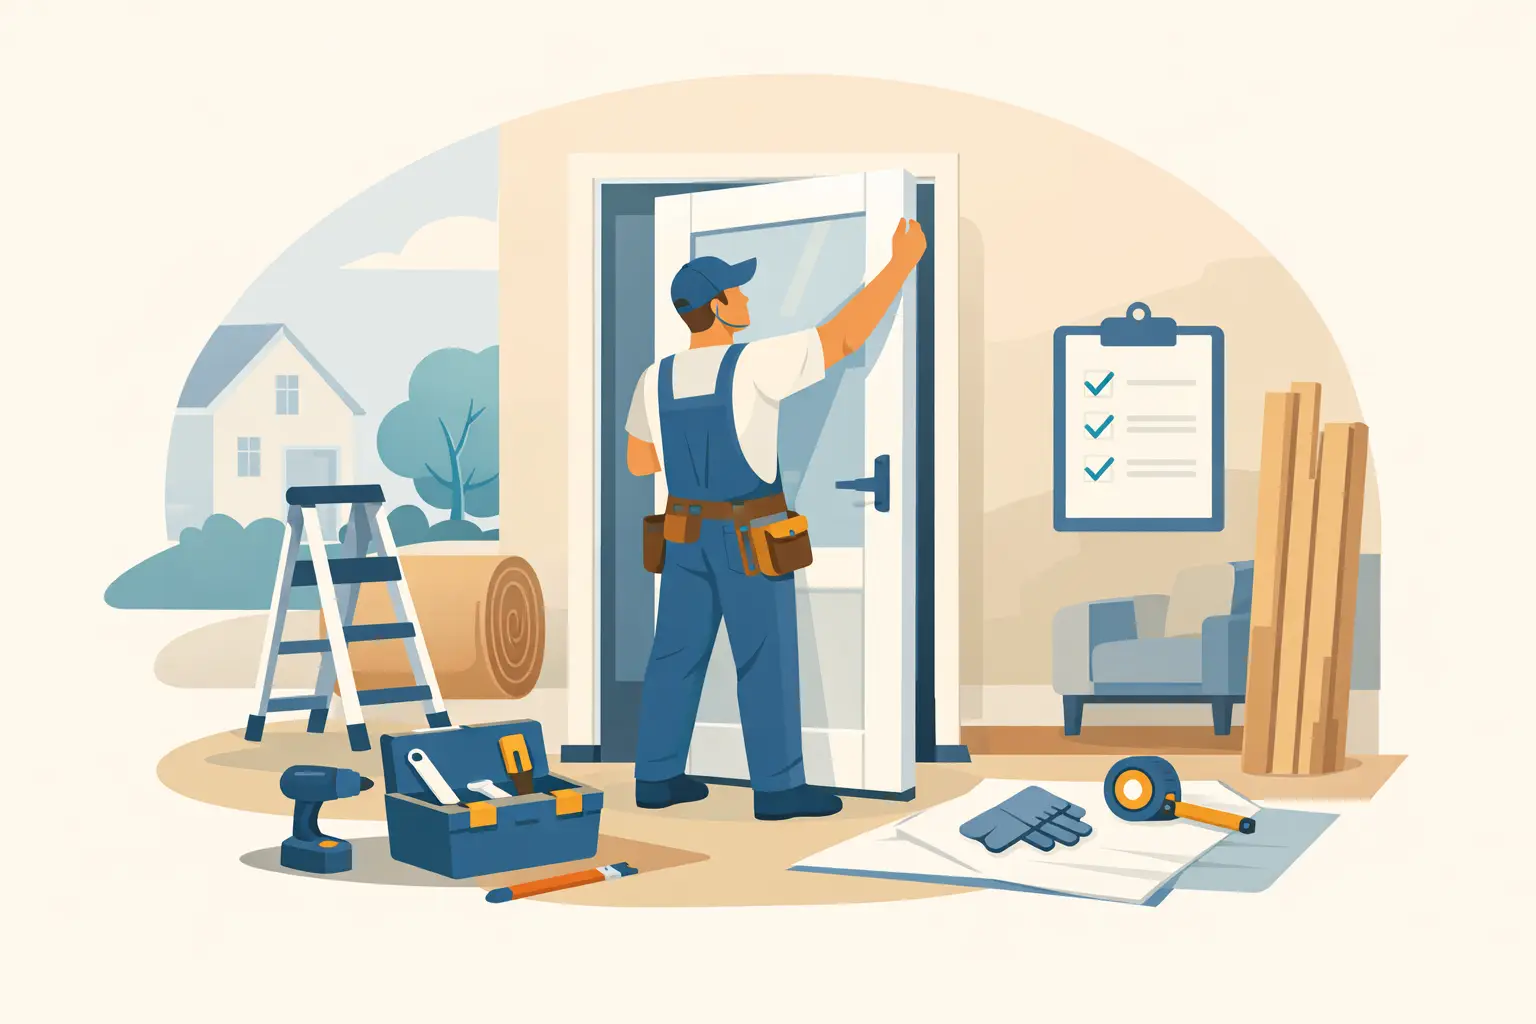
The evening before, take a few minutes to walk through the property. This short check reduces last-minute obstacles and helps the day run efficiently:
- Clear the route from parking or the entry point to every door being installed.
- Move furniture, artwork, rugs, and breakable items away from the work areas.
- Secure pets and arrange care or a safe enclosed space for children.
- Confirm access instructions, parking, building approvals, and a working phone contact.
- Check that agreed hardware, finishes, and any customer-supplied items are on site.
If you are supplying handles, locks, hinges, or smart hardware yourself, keep all components together in their original packaging. Check that instructions, keys, batteries, strike plates, and fixing screws are included. Specialty hardware may have compatibility requirements, particularly with thicker doors, multipoint locks, or electronic access systems.
Inspect the Finished Door Before the Team Leaves
Once the installation is complete, take a few minutes to operate each door with the installer present. Open and close it several times, check that the latch engages correctly, and confirm that handles, locks, privacy latches, or deadbolts operate as expected. For exterior doors, look at the reveal around the frame, weather seals, threshold, and the way the door closes against the seals.
Small adjustments are a normal part of quality door fitting. The goal is not simply for the door to close, but for it to move smoothly, sit correctly within the frame, and complement the surrounding trim. Ask about care, cleaning, paint curing times, and any settling or maintenance considerations relevant to your chosen door.
A well-prepared home gives the craftsmanship room to show. With access clear, decisions confirmed, and the work area protected, your installation day can focus on what matters most: a door that looks considered, performs reliably, and feels right every time you walk through it.