A barn door only looks effortless when the hardware has been installed with care. To install barn door track properly, you need more than a level and a few screws. The track must carry the door’s full weight, clear nearby trim, stop smoothly at each end, and remain secure through years of daily use.
For homeowners planning an interior upgrade, the visible black steel track may be the design feature that catches the eye. The work behind it is what determines whether the door slides quietly and finishes the room with the polished result you expect.
Start With the Wall, Door, and Opening
Before choosing a track or drilling into the wall, assess the opening and the space beside it. A sliding barn door needs clear wall area equal to the door’s travel. If furniture, light switches, artwork, windows, or a second doorway occupy that area, the door may not open fully.
Measure the finished opening, not the rough framing. For privacy, the door should generally overlap the opening on both sides and above the header. One to two inches of side overlap is common, although larger overlaps can be useful where light control matters. The door also needs sufficient width to cover the opening when closed and enough height to maintain an appropriate gap above the finished floor.
Track length depends on the opening width and the style of hardware. A single sliding door commonly uses a track around twice the opening width, but that is not a rule to apply blindly. The selected door width, intended overlap, stop positions, and available wall space all affect the final measurement.
Check clearance before ordering hardware
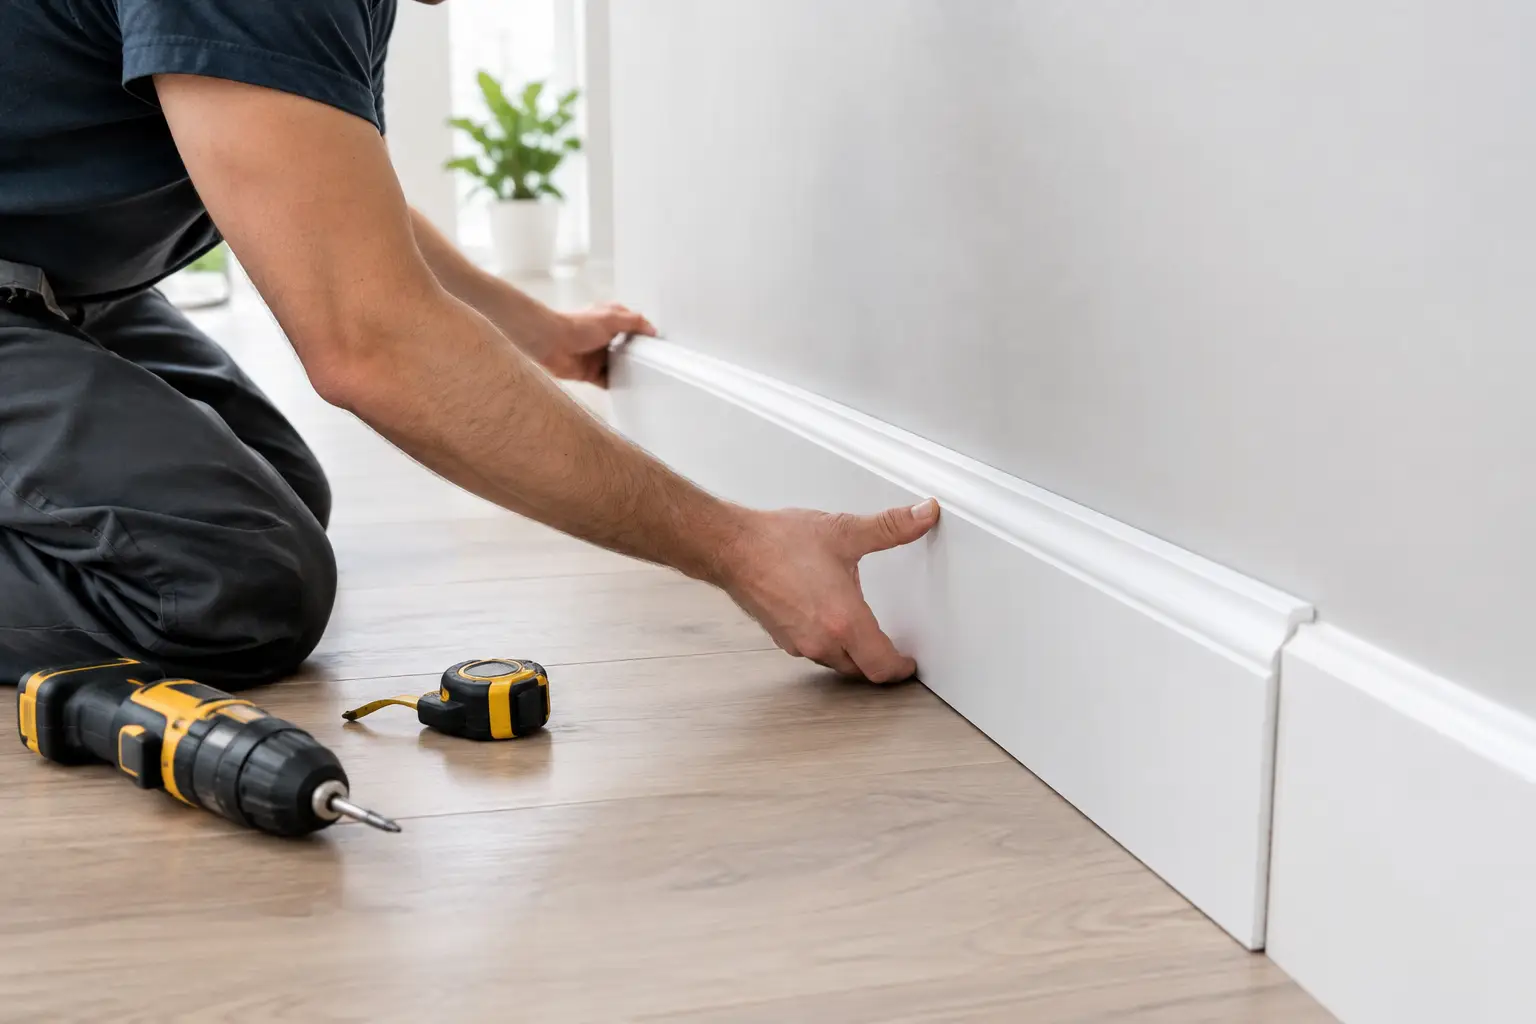
Barn door hardware sits proud of the wall. That creates a gap between the door and the wall, which is necessary for the door to slide but can create problems around projecting trim. Deep baseboards, thick door casings, wall-mounted outlets, and decorative moldings may prevent the door from sitting as intended.
Measure the projection of these details and compare it with the clearance provided by the hardware. Sometimes a thicker mounting board or spacer system is required. In other projects, adjusting the trim or selecting a different hardware profile produces a cleaner result.
Choose Hardware Rated for the Door
A track is only as dependable as the hardware behind it. Confirm the door’s actual weight, including glass panels, mirrors, or applied moldings, then choose rollers and a track rated above that load. A solid timber door can be considerably heavier than it appears, while a hollow-core internal door may not be suitable for every hanger arrangement.
The finish also deserves consideration. Matte black suits many contemporary, industrial, and modern farmhouse interiors, while stainless steel, bronze, and softer painted finishes can better support a more refined or traditional scheme. Style matters, but strength, wheel quality, and compatible fixings matter more.
A complete installation usually includes the track, hangers, mounting spacers, bolts, stops, anti-jump blocks, and a floor guide. Leaving out the floor guide is a common mistake. The guide controls lateral movement at the bottom of the door, preventing it from swinging away from the wall as it travels.
Create a Structural Mounting Point
The track must be fixed into solid structure, not simply into drywall. A barn door puts both downward weight and repeated pulling force on the wall. Mounting directly into wall studs is ideal when the track holes align with the stud layout.
Where that alignment is not possible, install a substantial timber header board across the studs first, then fix the track to that board. The header should be straight, securely fastened, and finished to suit the room. Painted to match the wall, it can be discreet. Stained timber can become part of the design.
Do not rely on standard drywall anchors for a heavy sliding door. They may appear secure at first, then loosen as the door is used. Masonry, steel framing, tiled walls, and unusual wall construction each require an appropriate fixing method. This is one of the points where professional assessment can prevent expensive repairs later.
Mark the Track Height Carefully
Track height is not simply the height of the door. It is determined by the door height, the geometry of the rollers and hangers, the desired floor clearance, and the manufacturer’s hardware specifications.
Begin by establishing the finished floor level. If carpet, tile, timber flooring, or rugs will be installed after the door hardware, account for that final height now. A door that is perfect over a bare subfloor may drag once the flooring is completed.
Use the hardware instructions to calculate the mounting line, then transfer it across the wall with a long level or laser level. Check the line more than once. Even a minor fall in the track can cause a door to roll open or closed on its own, and it will be noticeable every day.
Dry-fit before final fastening
Hold the track and spacers in position before tightening every fastener. Confirm that the bolt locations land in studs or in the installed header board, that the track will clear the casing, and that there is room for the end stops. This is also the time to make sure the door will not collide with a light switch or other wall feature at full travel.
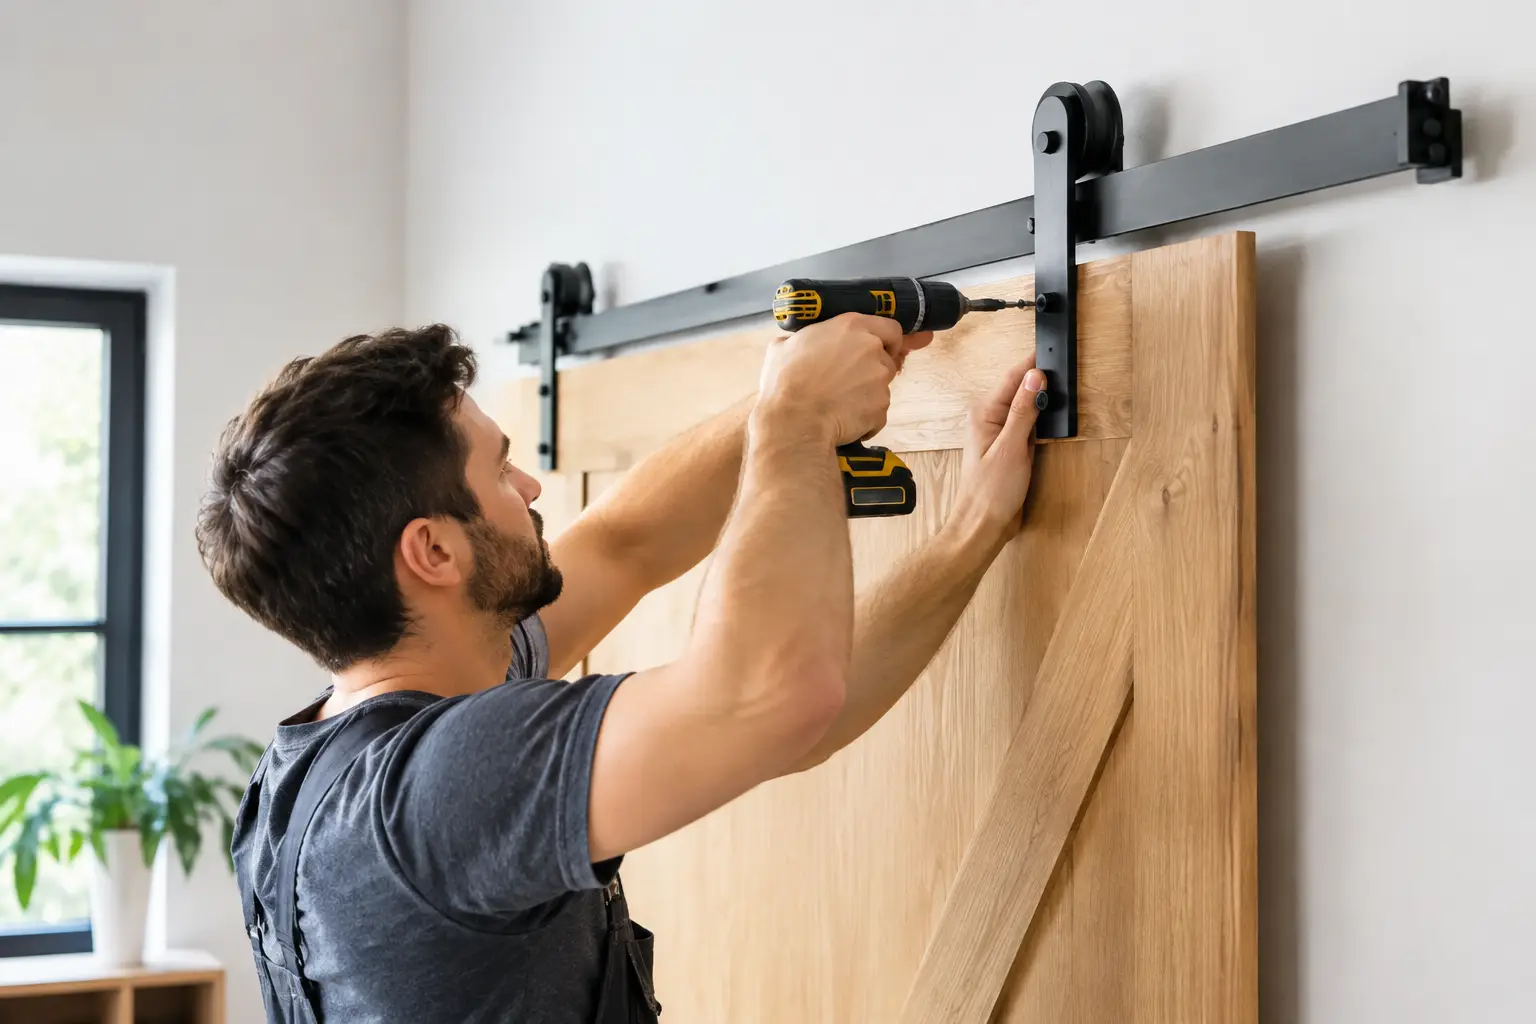
Once the position is confirmed, drill pilot holes where required and fasten the track firmly. Tighten bolts evenly without overdriving them, which can damage the wall finish, crush a timber mounting board, or affect track alignment.
Hang the Door and Set the Safety Hardware
Attach the hangers to the top of the door using the manufacturer’s spacing and edge-clearance requirements. Accurate layout is essential. If the hangers are not level and evenly placed, the door can sit crooked even when the track is perfectly level.
With assistance, lift the door onto the track and check its movement. Large solid doors are awkward and heavy, so this stage is safer with two experienced people. Slide the door slowly through its full travel before setting the stops.
Position the stops so the door closes with the required overlap and opens without running off the end of the track. Then install anti-jump blocks above the track as directed by the hardware manufacturer. These small components help prevent the door from lifting off the rail if it is bumped or pulled incorrectly.
Finally, fit the floor guide. Depending on the door profile and flooring, the guide may mount to the floor, wall, or a concealed groove in the bottom edge of the door. It should hold the door in line without pinching or scraping it.
Test the Door Like It Will Be Used
A barn door should glide with controlled, quiet movement. Open and close it repeatedly, checking for rubbing, uneven gaps, rattling hardware, loose fasteners, or stops that engage too abruptly. If the door drifts by itself, revisit the track level before assuming the rollers are at fault.
Also check the closed position from inside the room. Barn doors do not seal like hinged doors, so they are not usually the best choice where sound isolation, complete privacy, or strong odor control is essential. For a pantry, laundry, wardrobe, study, or feature opening, they can be highly practical. For a bathroom or bedroom, the decision depends on the desired level of privacy and the overlap achieved.
When Professional Installation Is Worth It
A straightforward barn door project can suit a capable DIY homeowner, particularly where studs are accessible, the wall is flat, and the door is lightweight. The risk rises with heavy timber doors, double-door systems, masonry walls, concealed guides, custom trim, or openings that are not square.
Professional installation brings accurate site measurement, suitable structural fixings, clean hardware alignment, and a finished result that feels deliberate rather than improvised. For homeowners across Penrith and greater Sydney, Meriton Doors can coordinate the door, hardware, and installation as one considered project.
The best final check is simple: stand back with the door closed, then slide it open. If the lines are level, the hardware is quiet, and the door stops exactly where it should, the installation has done its job without asking for attention.
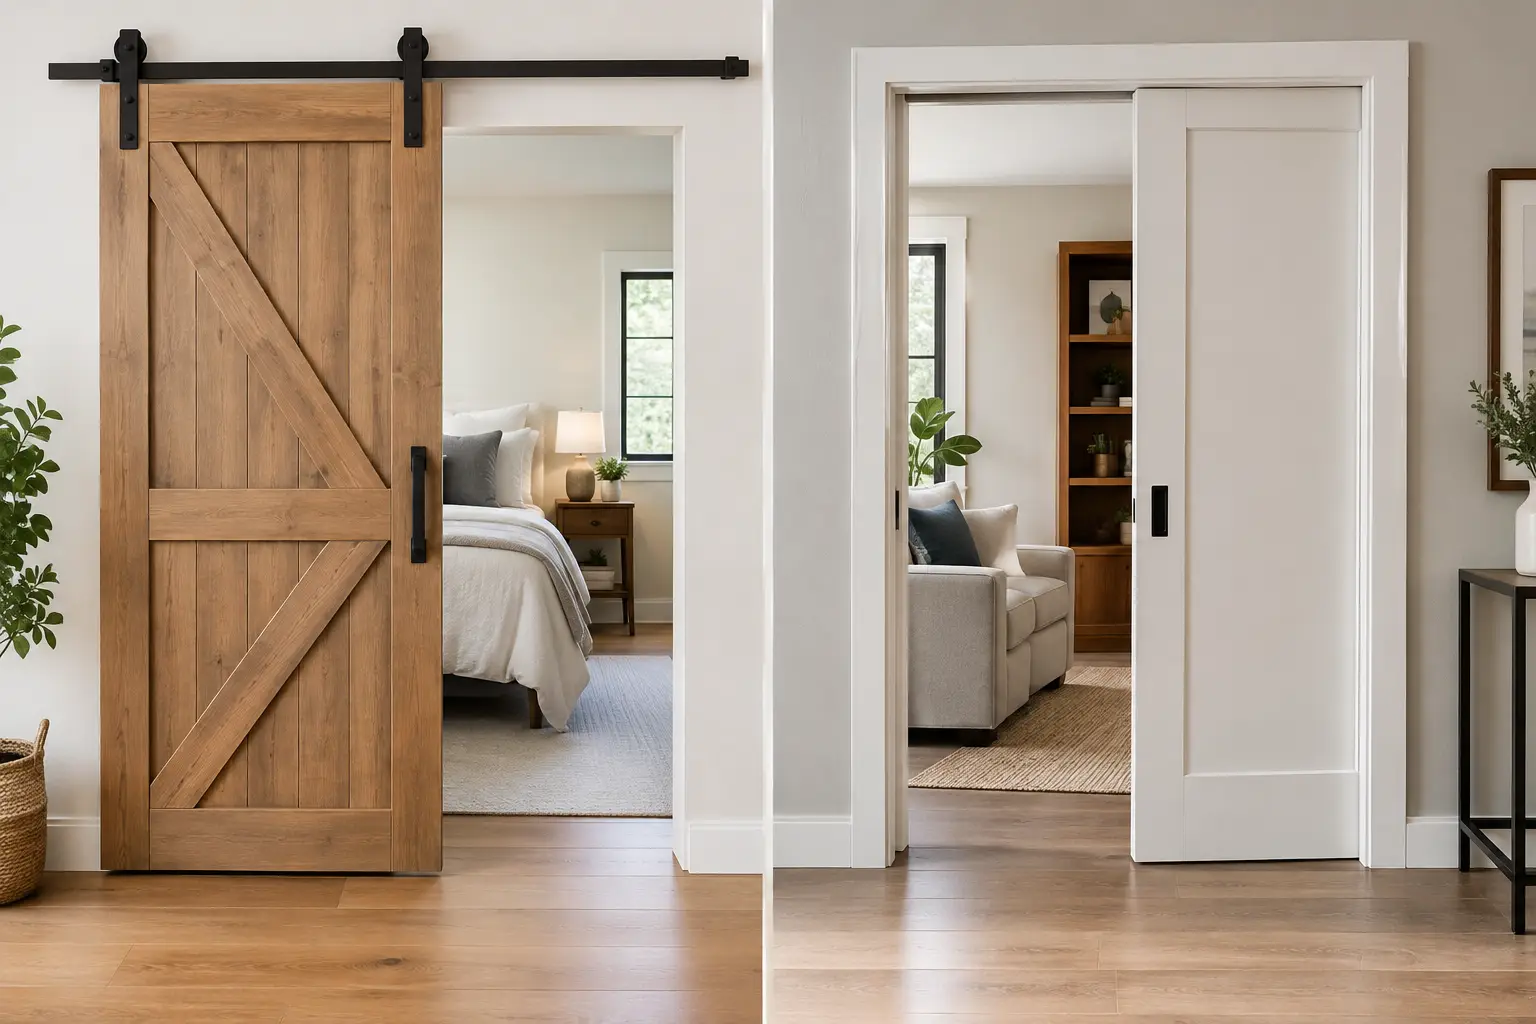
Barn Doors Versus Pocket Doors for Your Home
Barn doors versus pocket doors differ in space, privacy, cost, and style. Compare both options to choose the right interior door for your home today.